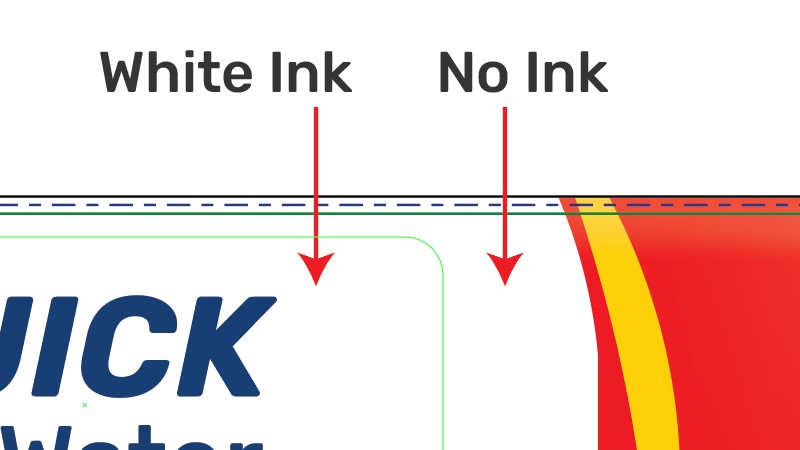
What Is White Ink Printing?
Printing with white ink on clear labels, labels with dark backgrounds, silver or metallic materials, and other label materials is an eye-catching option that will help to make your labels design appear more vibrant and easy to read for consumers.
By adding white ink to the product label it will help the font and images to stick out and reduce the transparency of your label. Without white ink, the labels design will appear transparent making the images and text hard to read for the consumer.
If you want to add brilliance and a unique high quality effect to your labels design through white ink then keep in mind that whoever your company's designer is, they will need to add the white ink to the label before being sent.
If your label designer is not sure how to do this, then we have compiled an easy instruction guide using Adobe Illustrator. If you do not have a designer we have graphic artists on staff who can do any artwork needs you might have.

How To Indicate White Ink In Adobe Illustrator
- If your label has multiple layers of design and font, you will need to flatten it. You can flatten or outline the text by clicking on the Layer Panel and select the icon that looks like a hamburger in the right hand corner. Then choose Flatten Artwork and name the layer Artwork or any other name that you like.
- In the bottom right corner of the layer window, click on Create New Layer. You will see a new layer with a white box appear underneath the Layer tab. Name this new layer White_Ink. There should now be two layers in the Layer Panel.
- Click on the artwork layer file or what you have named the original artwork file as. Do not move the original artwork layer and make sure the artwork layer file is still clicked on, move your mouse over the image and Copy. Paste the Copy into the white artboard box.
- Make sure the artwork layer file is still selected as you're doing these steps. Select the elements that require the white ink. Copy and paste those design elements onto the front of the original artwork using Control F or right click and press Paste.
- Click the dropdown menu arrow near the layer titled the original file name or artwork. The design elements you have selected for white ink should have a red square box on the right hand side of files if done correctly. Select the files with the red squares and drag and drop into the layer titled White_Ink.
- You will need to click on the layer titled White_Ink and select all the elements in this layer to give them a white ink spot color. With this, we will know where the white ink needs to be. To create the white ink spot color, go to the Swatches Panel. If you cannot find this, then click on Window, Swatches. The Swatch Panel window will appear.
- Click on the hamburger icon in the top right corner of the Swatch Panel window. Select the New Swatch. A window titled New Swatch will appear on the screen. It is very important to enter White_Ink in the box near Swatch Name. Underneath click on Color Type and select Spot Color. For Color Mode, click on CMYK.
Tip: When selecting a color mix for the spot color White_Ink, do not choose white. If you select white then it will make the labels fonts and images hard to view. It is best to use a contrasting color that will not blend in with your existing label colors. - Once the color swatch has been created you will see a small box with a white dot in the corner made of the colors you selected under the swatches panel. This will be the Spot Color. Select the images and text in the White Ink Layer that requires the white ink and click on the Spot Color Box. This will apply the Spot Color to the labels images and text you wish to have the white ink.
- You will need to Overprint all the white in your label to avoid one layer of color not displaying in the final product. Before selecting the white ink elements in each layer make sure your Overprint is set up by going to View, and clicking on Overprint Preview. Begin by clicking on White_Ink Layer and select all the images and fonts applied with white ink. Go to Windows, Attributes and Overprint Fill. This will make the selected white images appear in the color you have mixed.
- Once all the white in your labels images and fonts look accurate, then export the file as .ai (Adobe Illustrator native format).
- Open the document to be worked on in Adobe Illustrator.
Consider Your Product Colors & Fonts
White ink can be added to multiple market products with labels displaying any color or font. Adding a white ink to your product label will help to avoid loss in color vibrancy, and transparent fonts or images. Combined with your CMYK mode, it gives your product a neater image and print.
Without following the steps listed above there is the possibility of cost and time risks, as well as an unfinished product.

